HOW DOES IT WORK?
Printed film DTF UV adhesive Decals
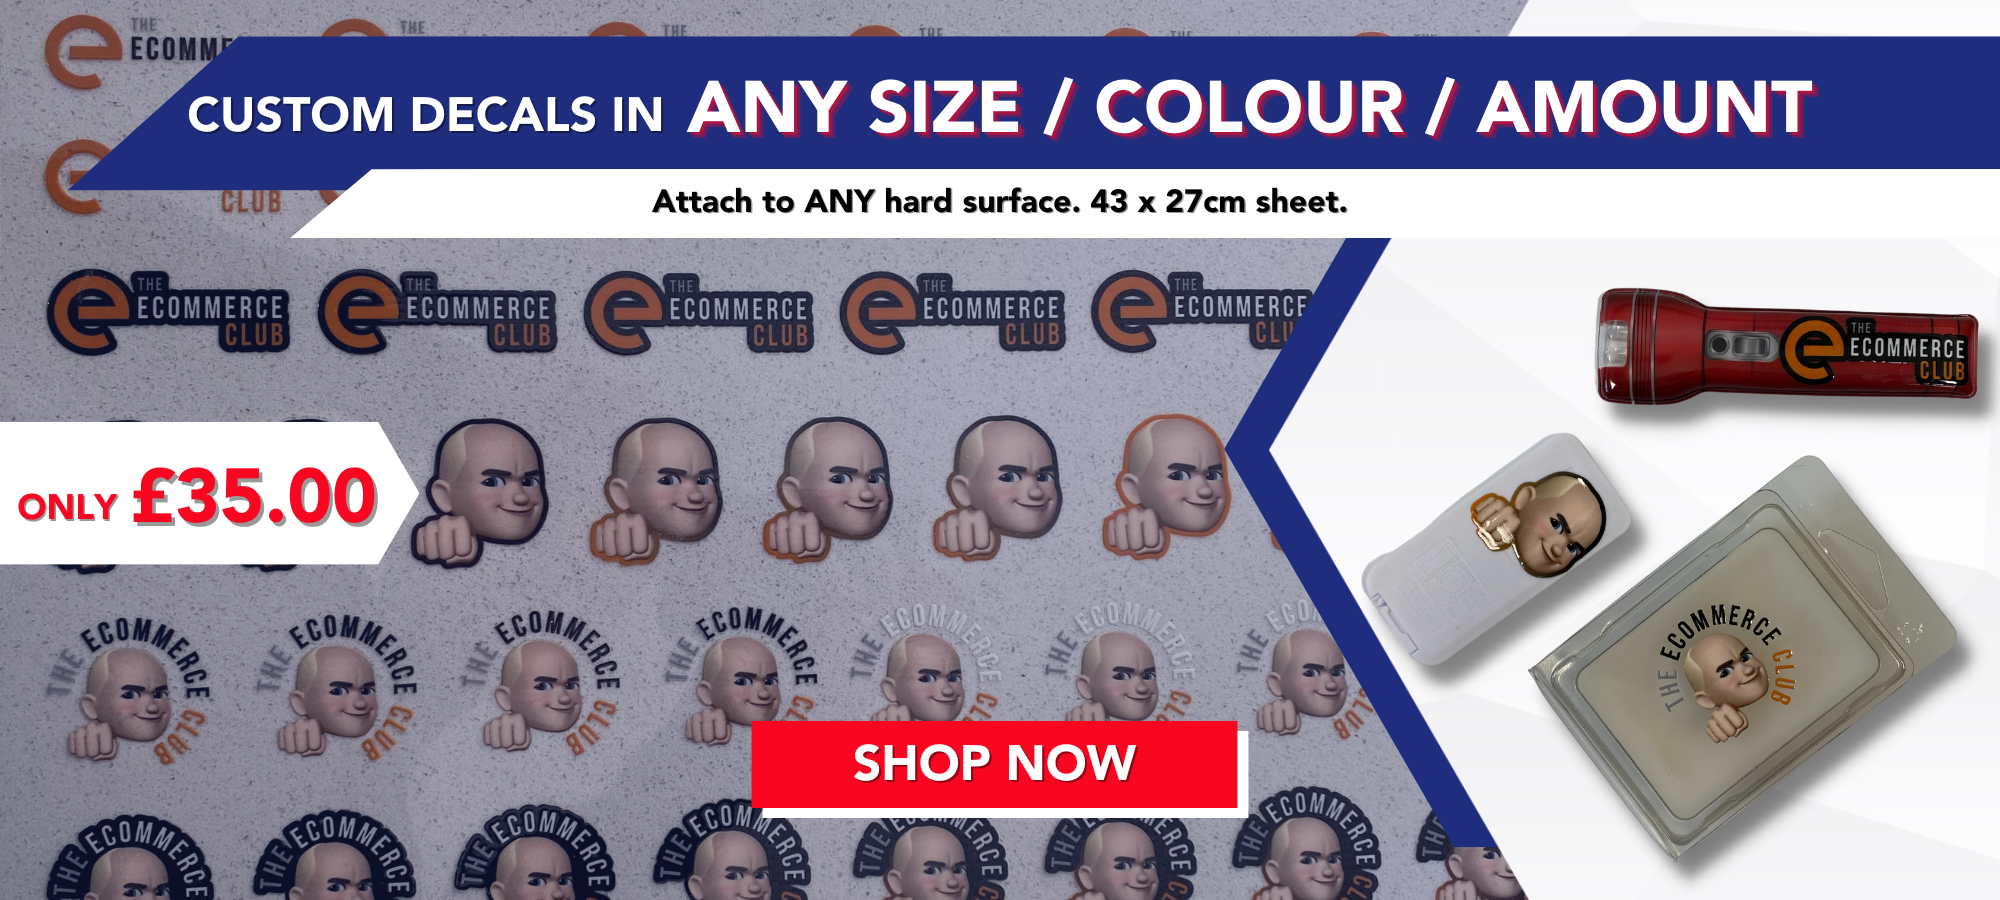
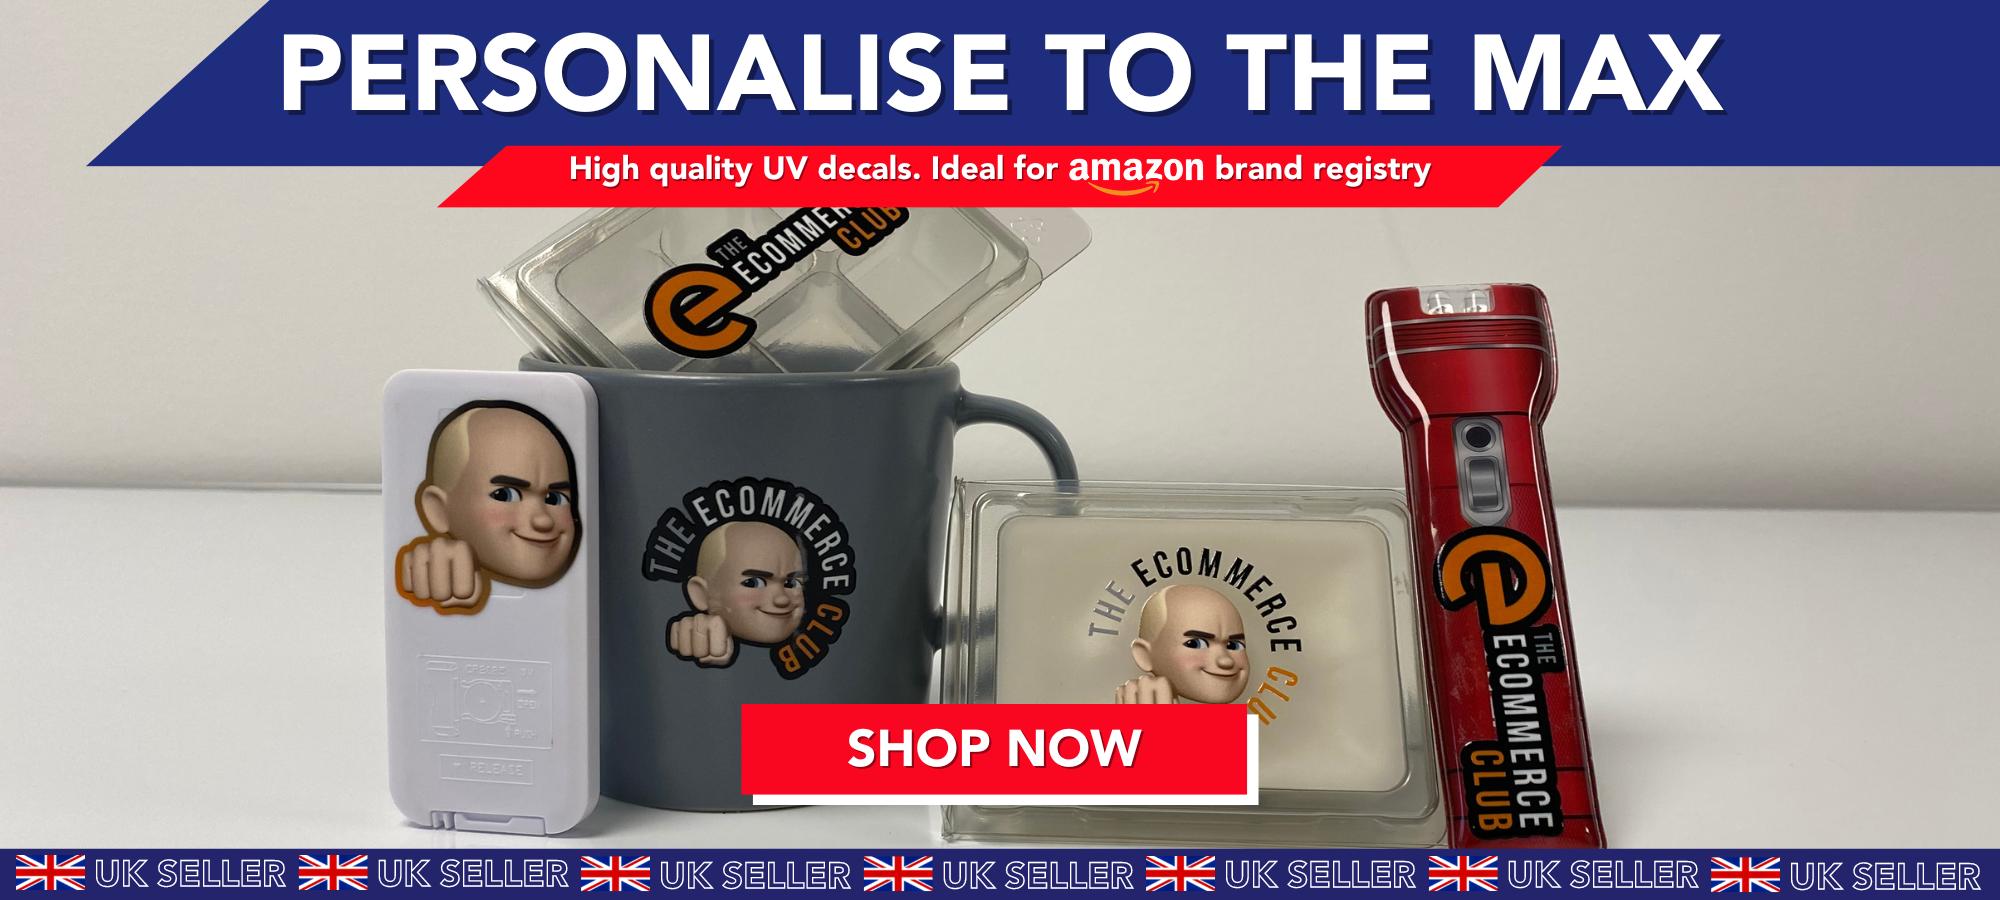
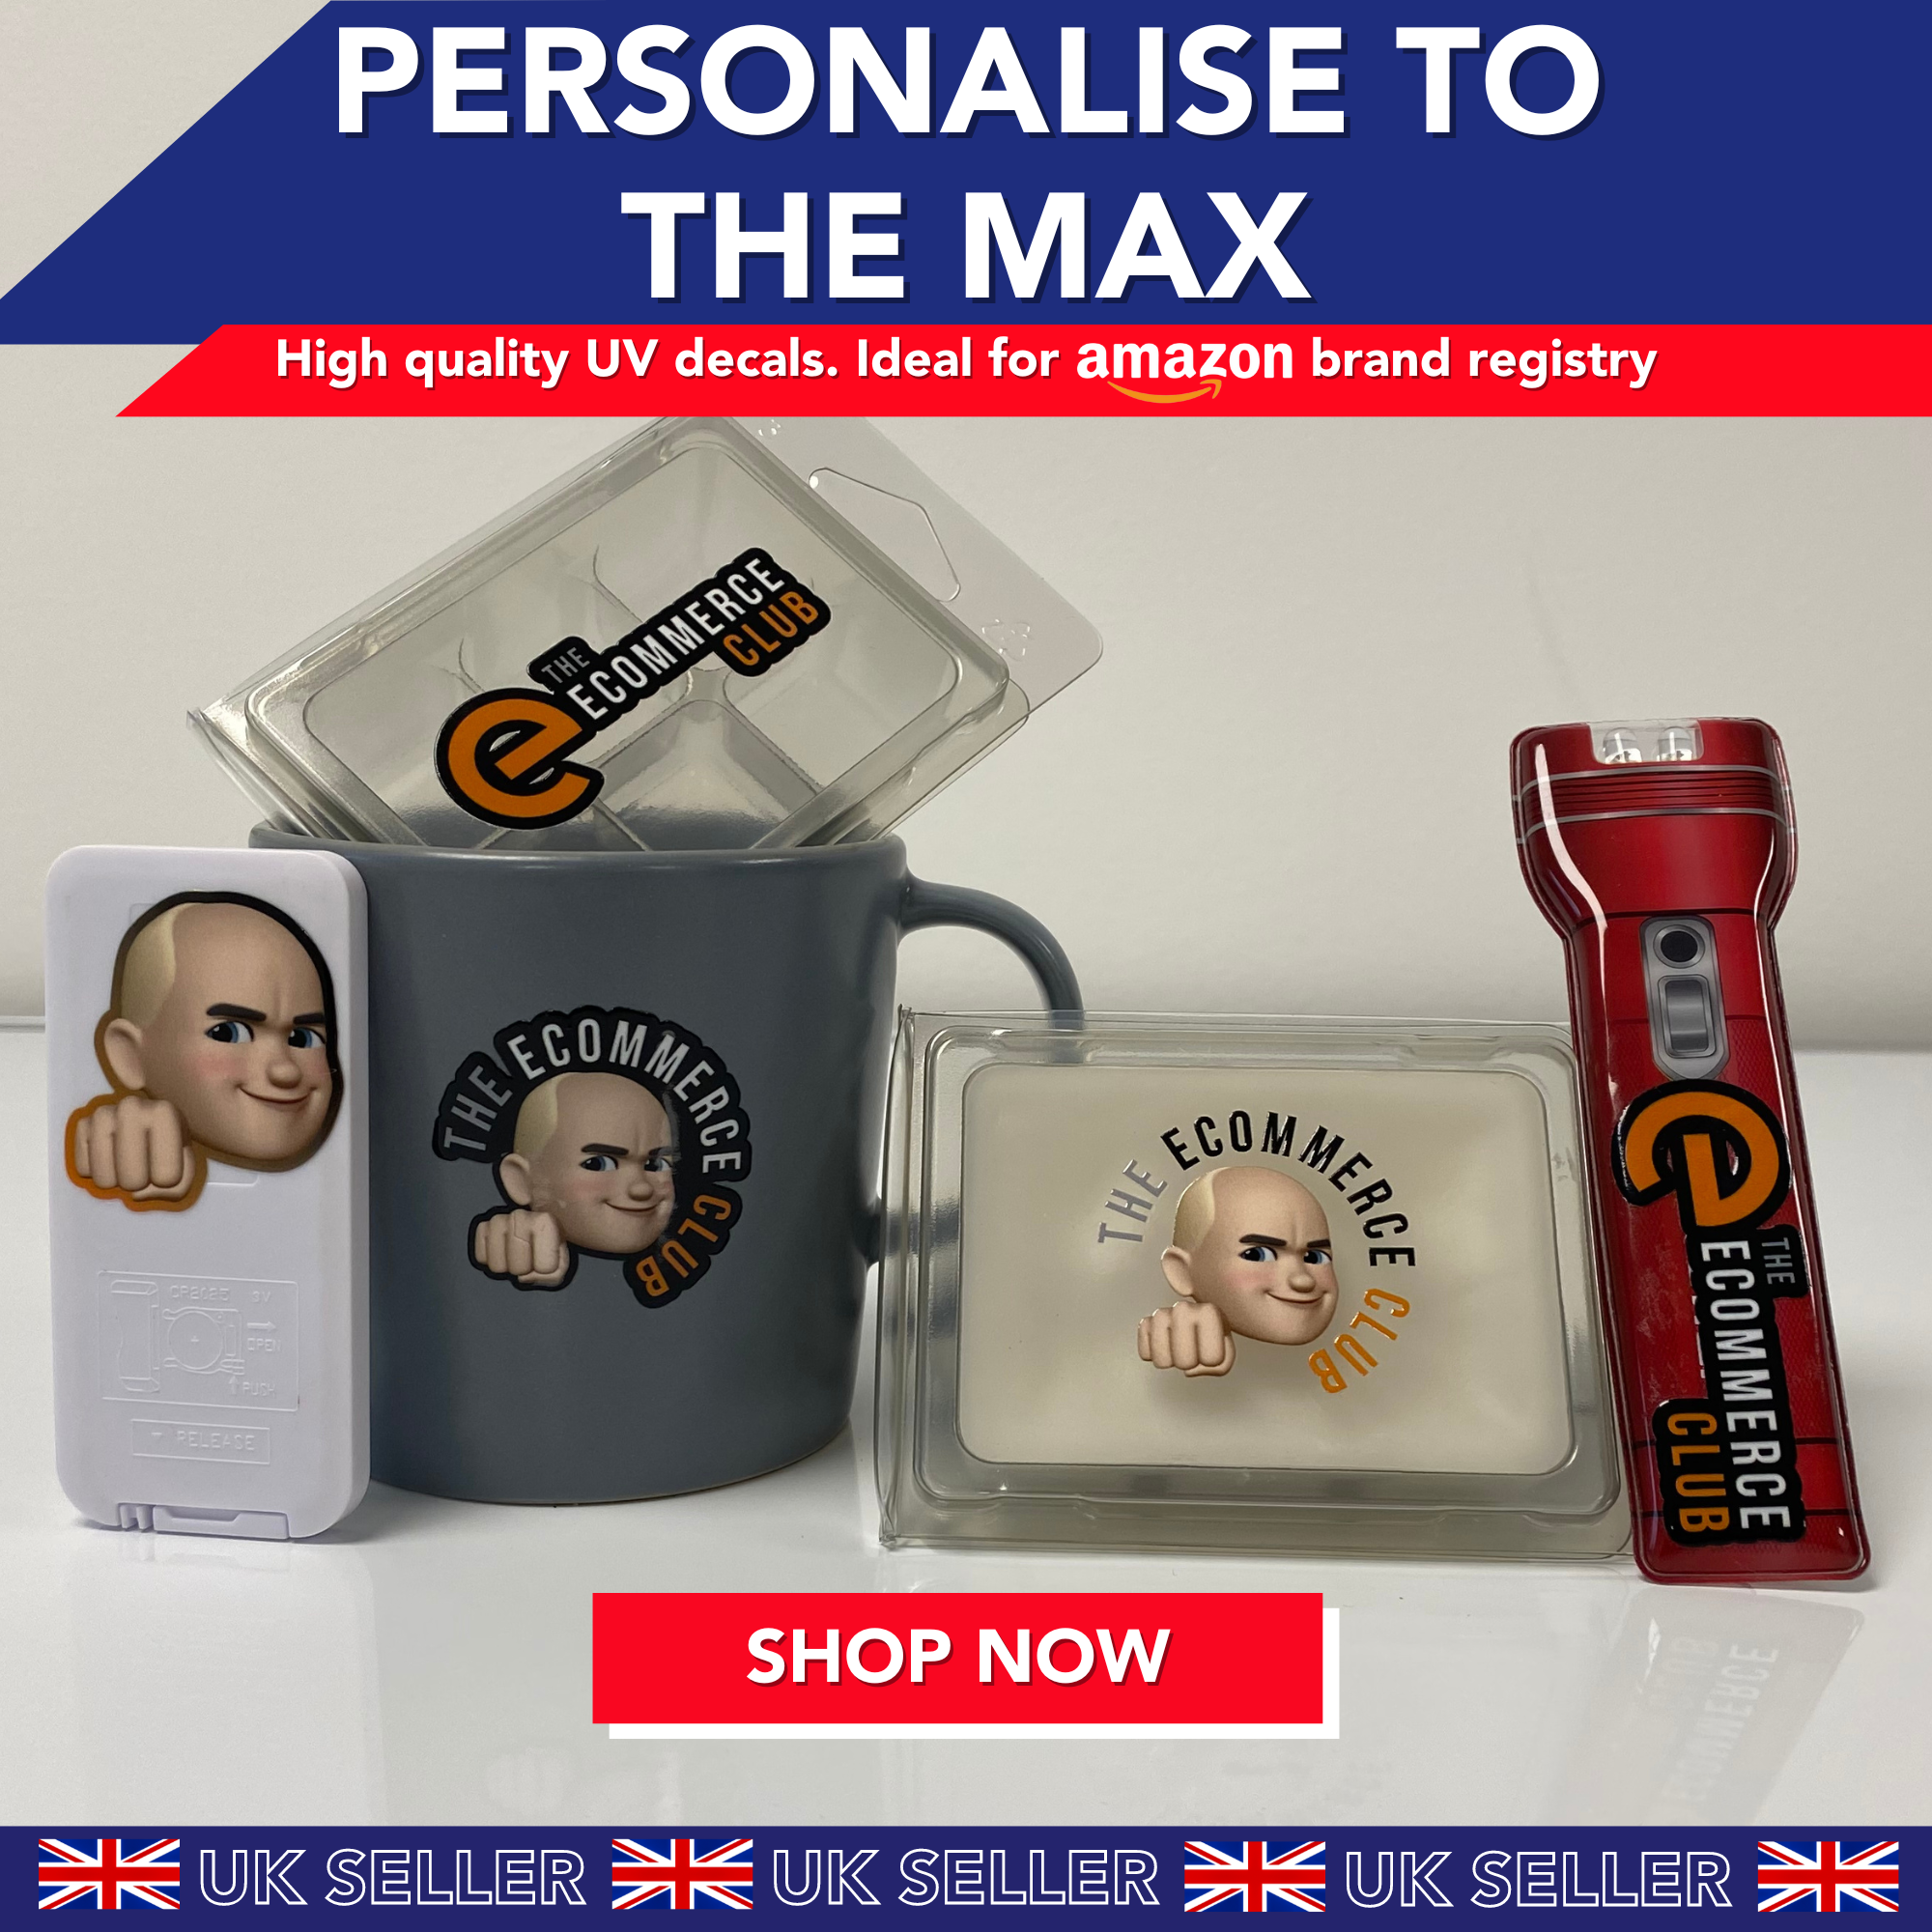
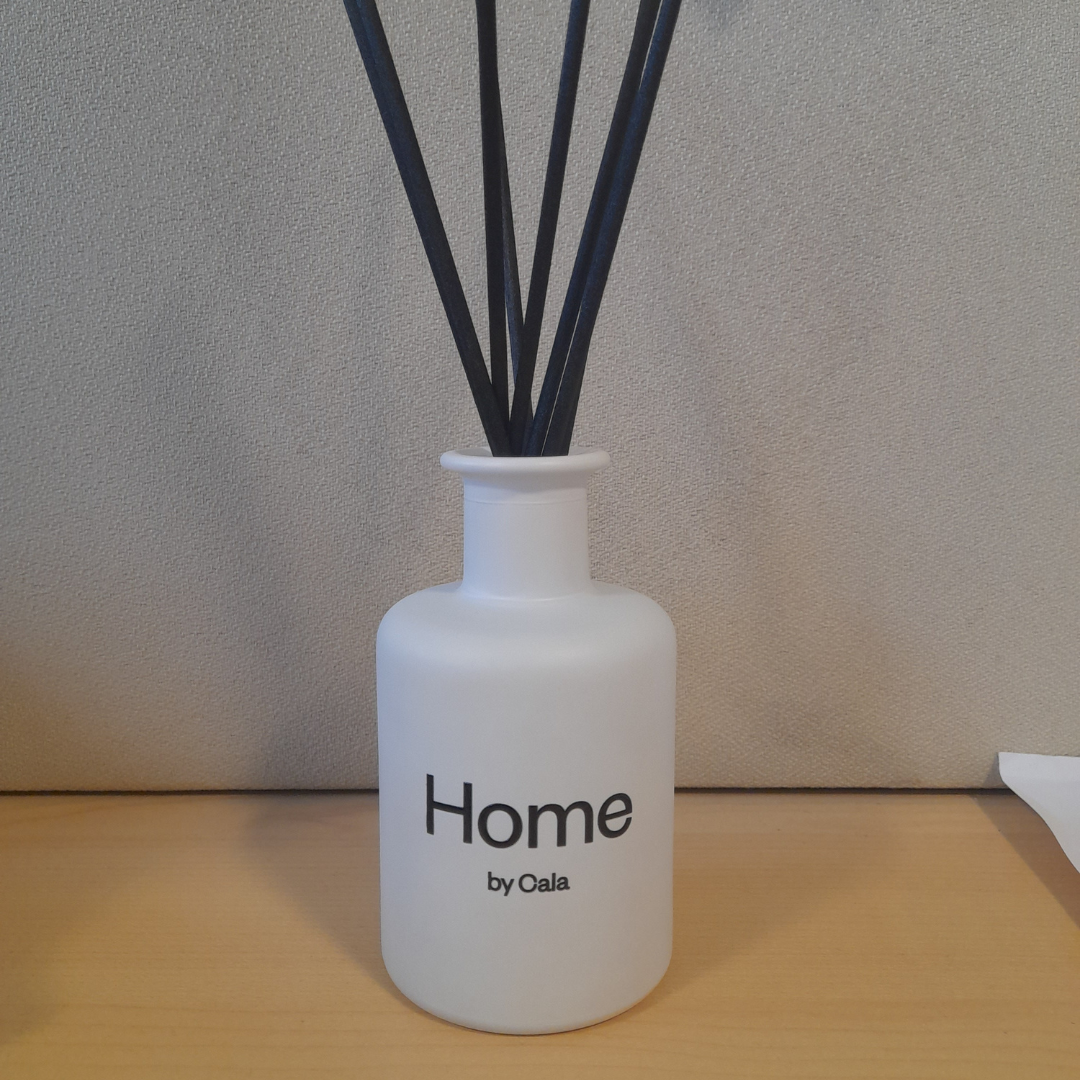
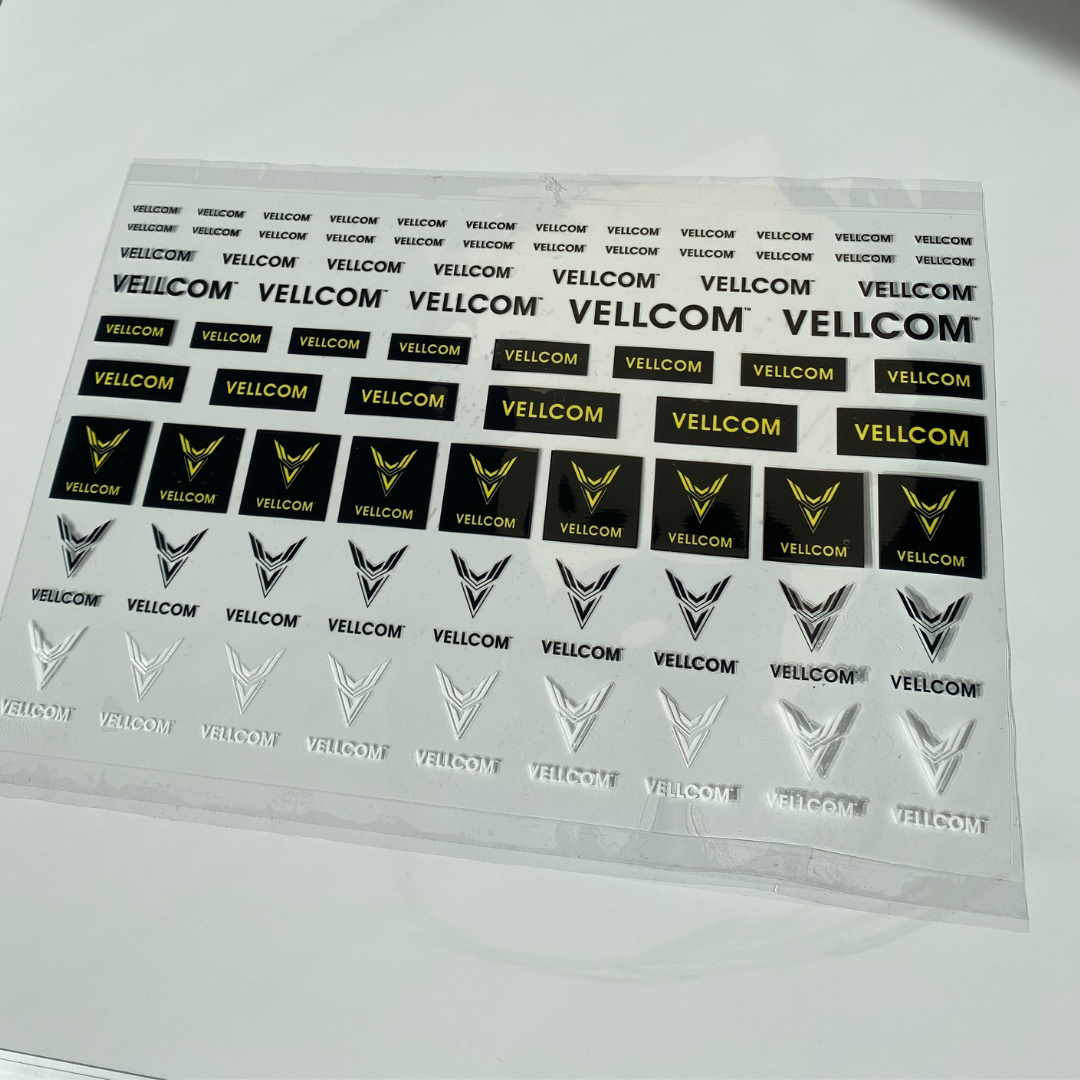
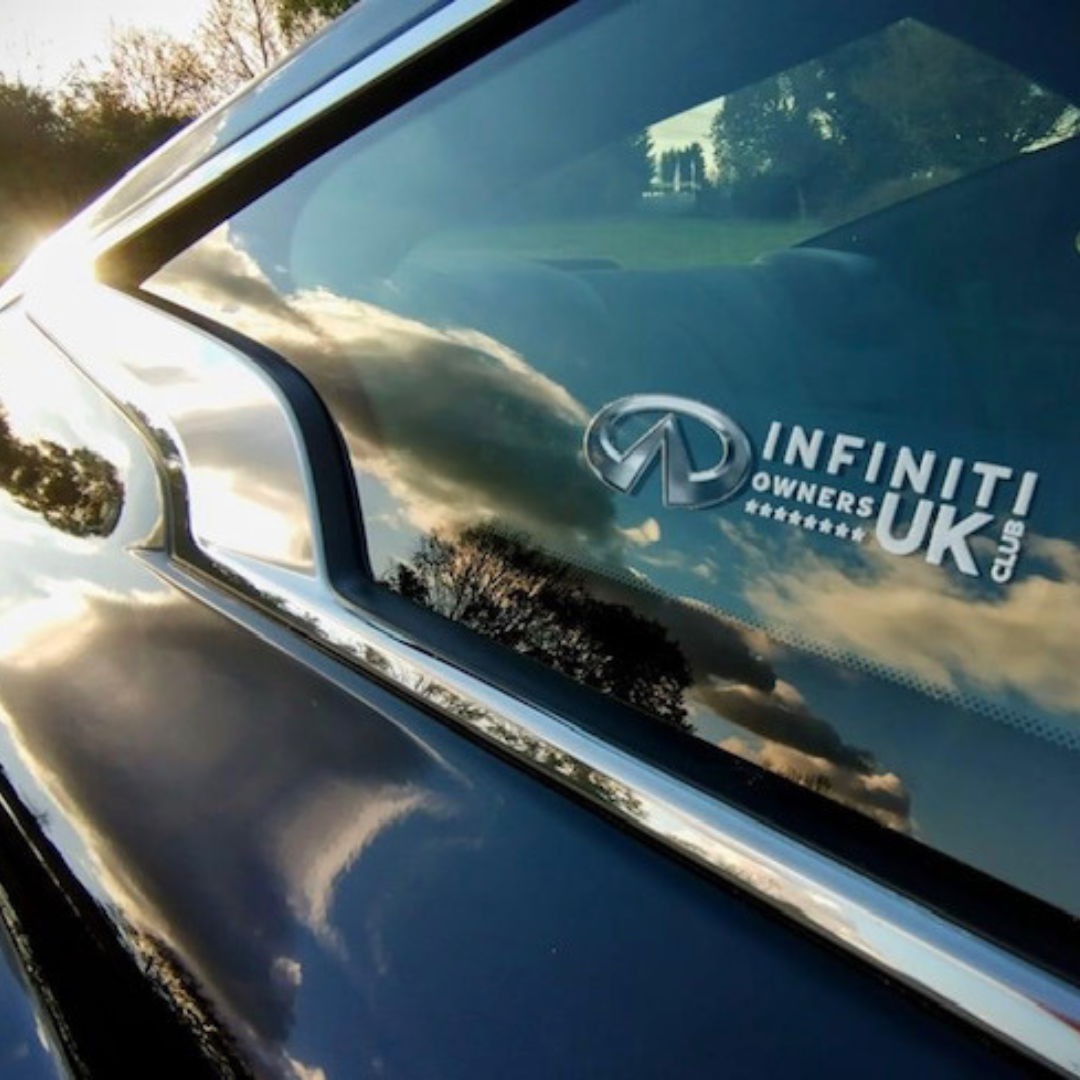
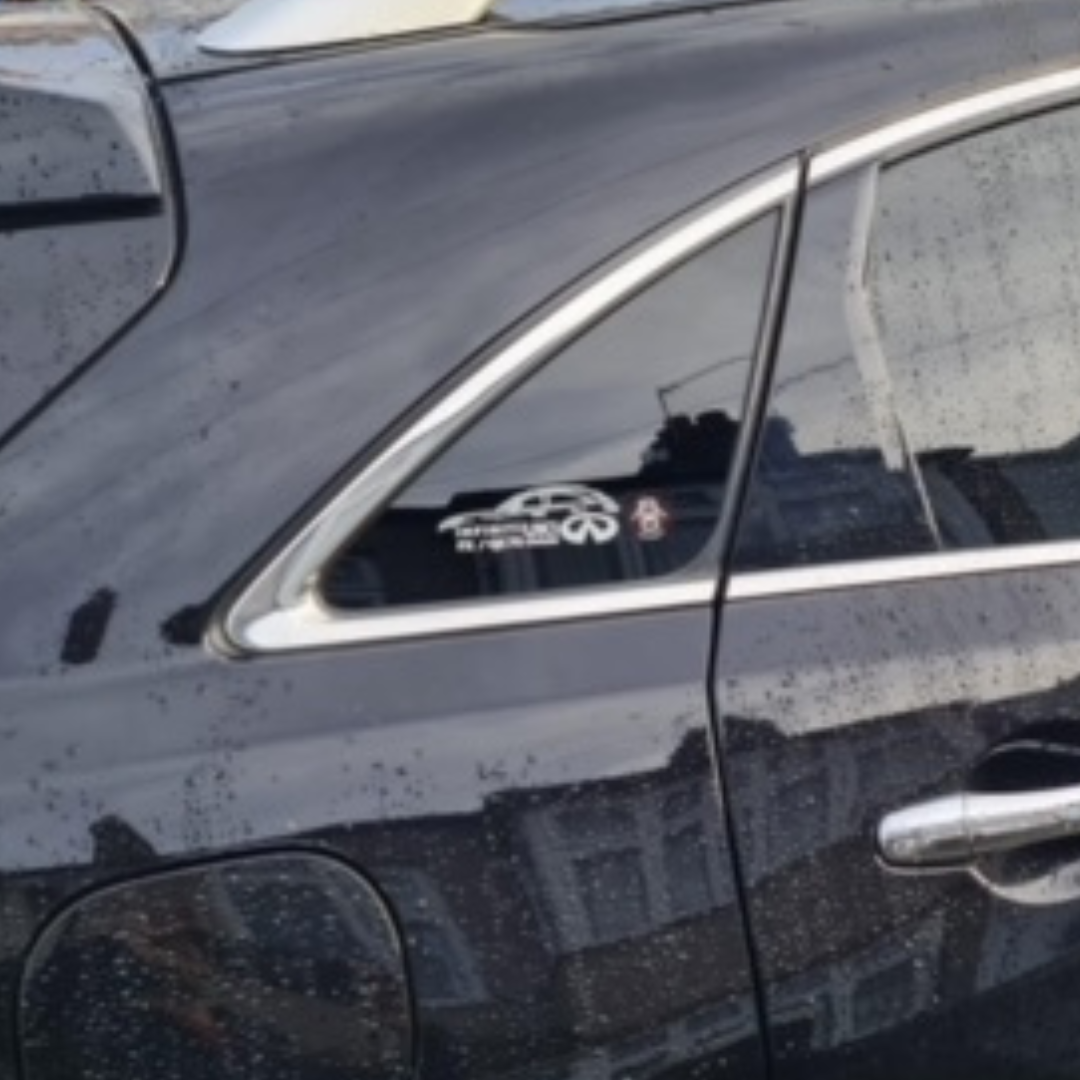
100% customised - ANY SIZE / COLOUR / DESIGN / AMOUNT to fit a 43 x 27cm sheet. This is Direct To Film UV printing, with decals printed on to an adhesive sheet, to then be laminated to a second sheet which "carries it". Rub down onto a hard surface, pull the carrier sheet away and you’re left with a super neat, classy decal.
Hard Surfaces ONLY
No MOQ - Just one 43 x 27 cm sheet with whatever you want to any design and up to the size of the sheet.
Full-colour
Posted to you in a tube
Fast turn around from correct artwork
Submit artwork to: info@theecommerce.club
scroll down for artwork submission guidlines
BUY NOW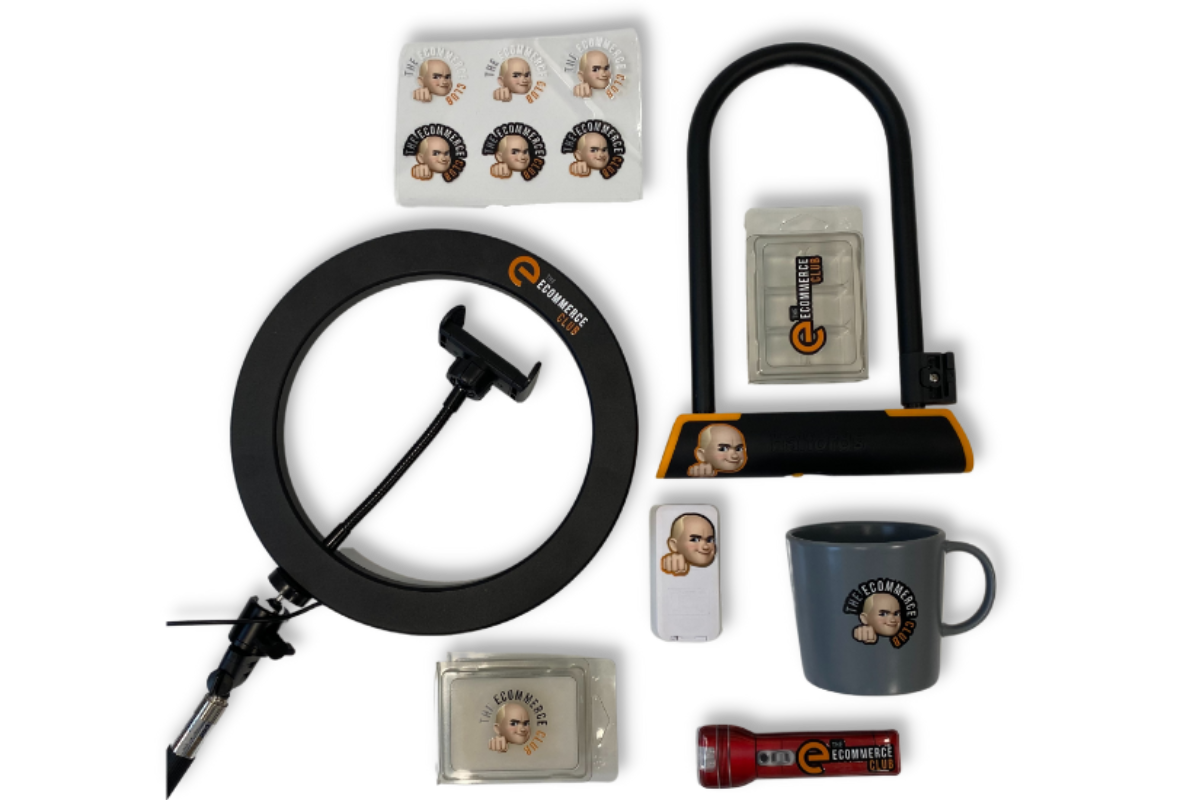
Customer Decals:
Artwork submission details
All artwork must be made on a 43 x 27 cm PDF or PNG.
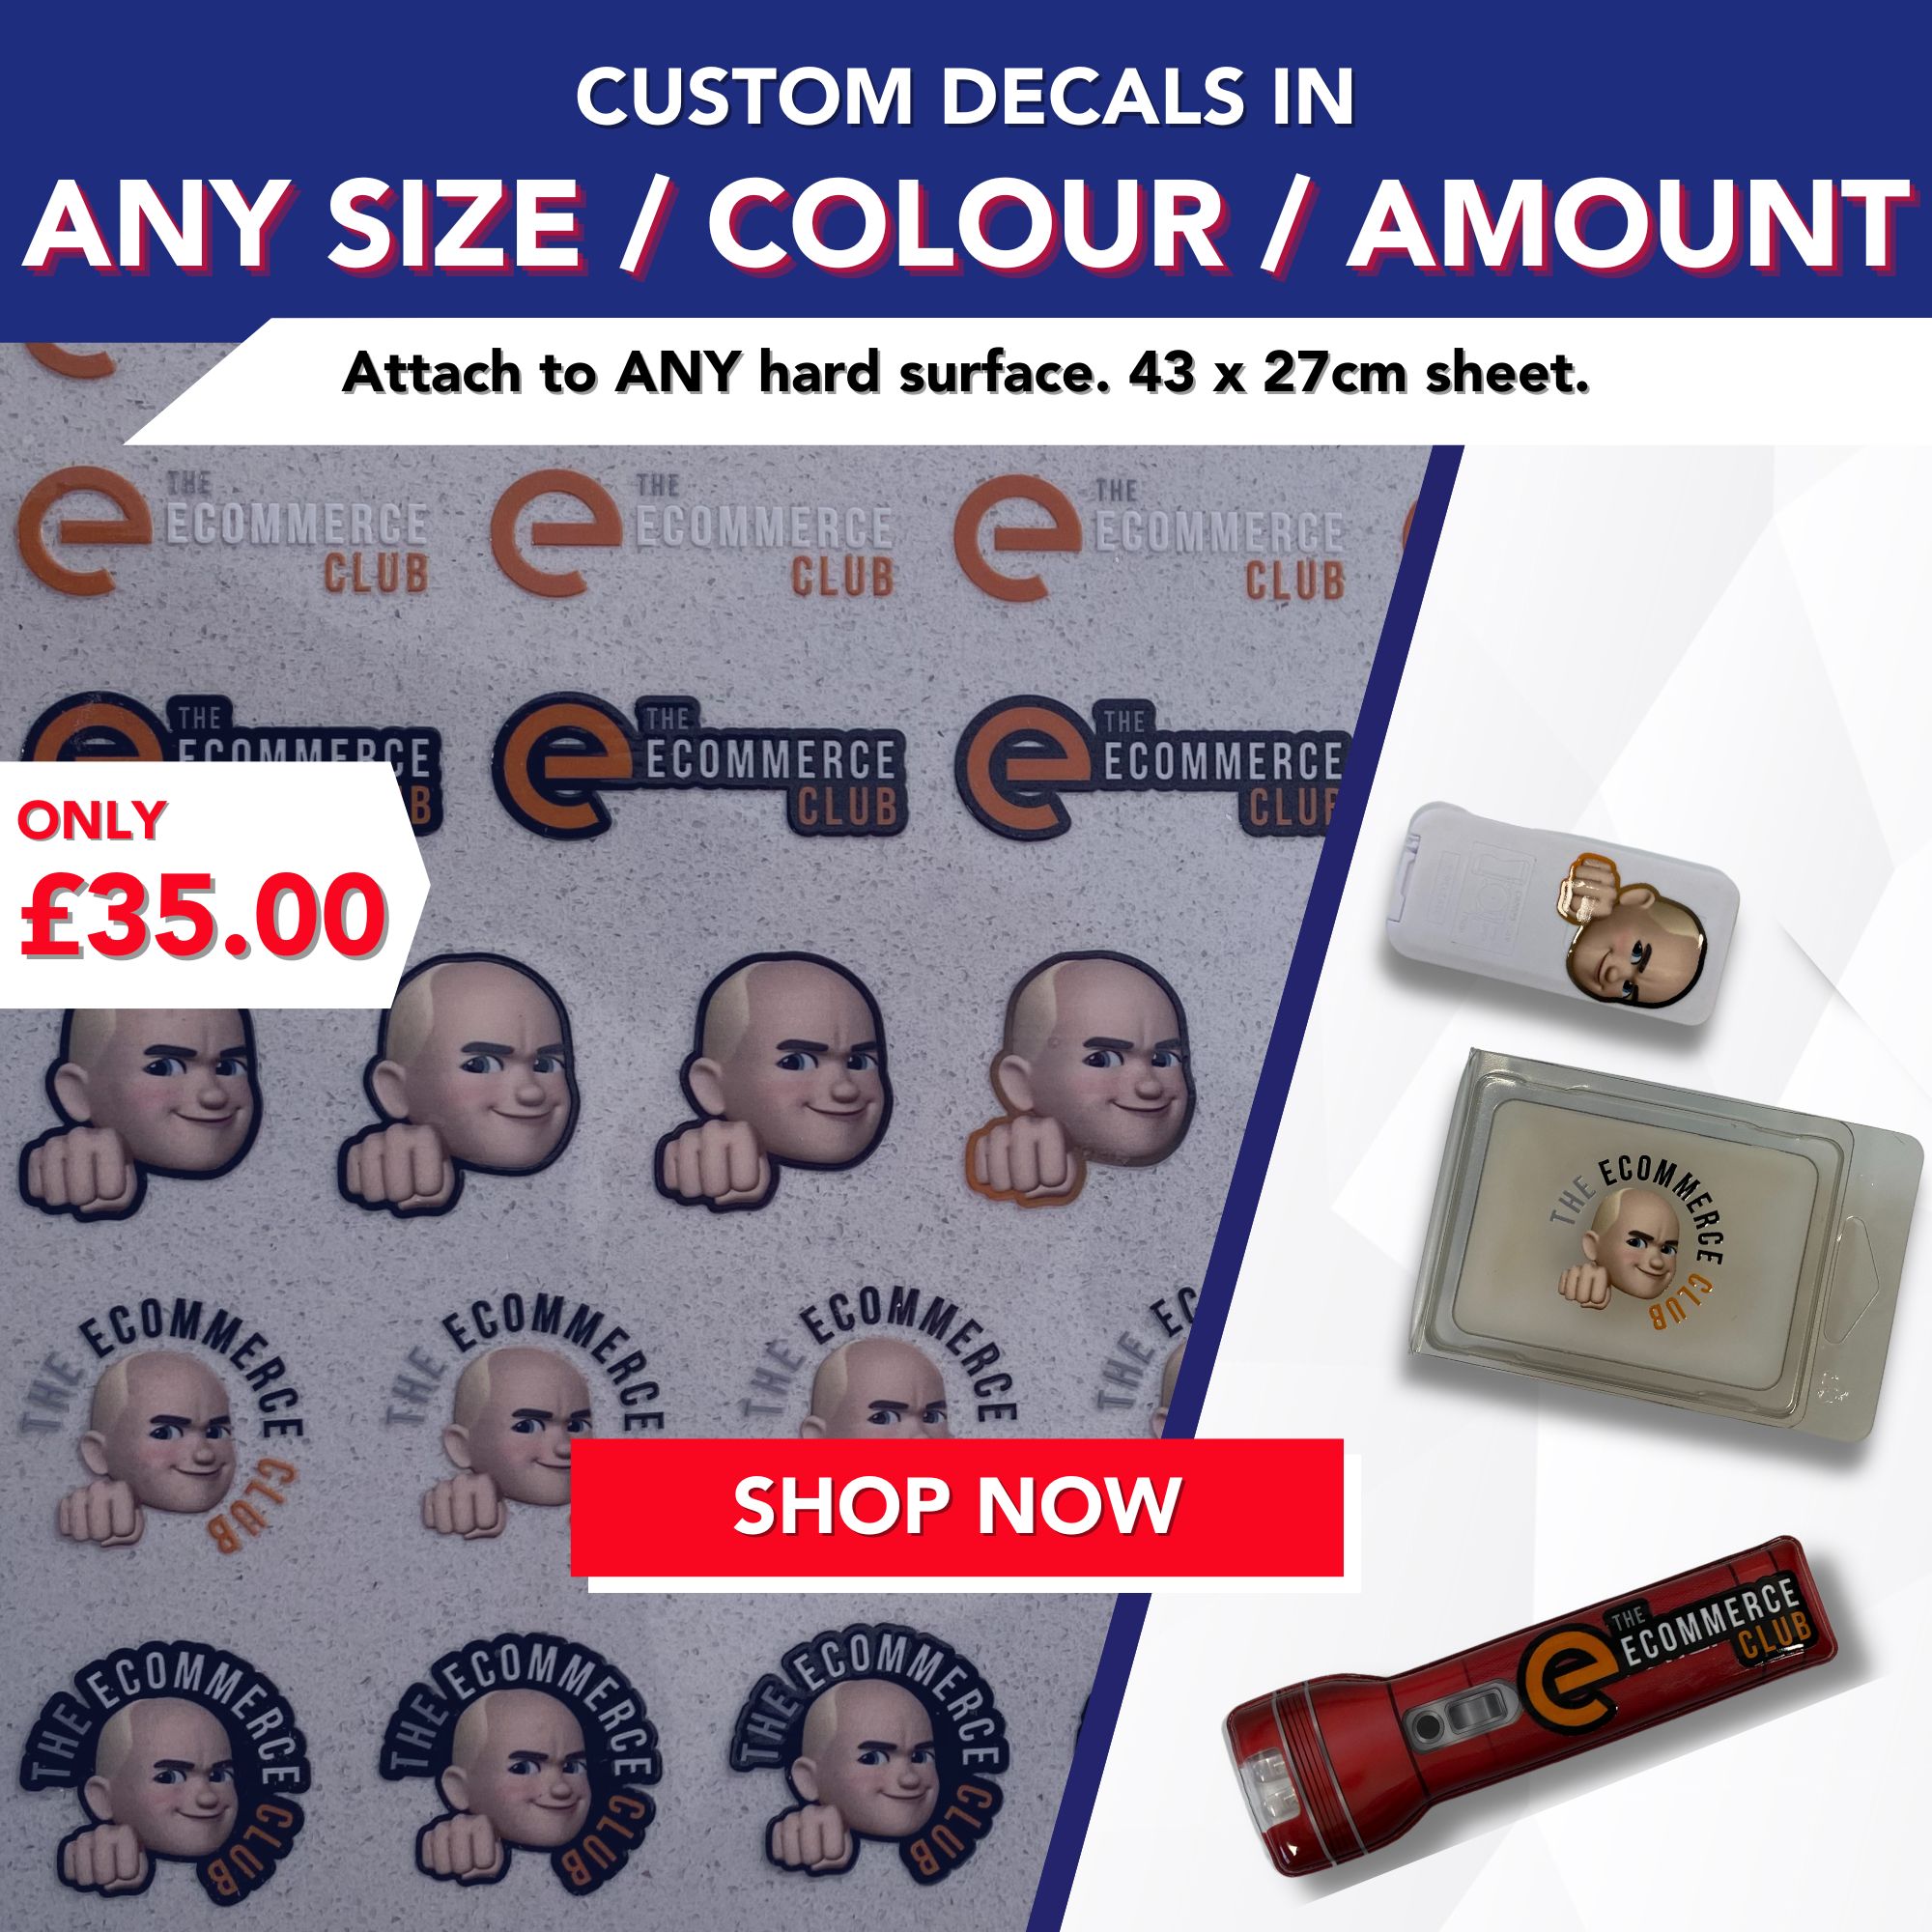
If you want multiple decals, please fill the artwork sheet with however many decals you want (see example above). Please allow 5mm spacing between each decal and 5mm from the edges of the sheet. All decal artwork documents must have a transparent background
Send document to info@theecommerce.club
ADDITIONAL NOTES:
The document needs to be saved as a pdf with vector made decals.
If easier for you, the decal document can be a PNG with 300 dpi.
Avoid sending the document as a jpeg as this type of document will not have a transparent background on the printed decal sheet.
At its smallest, each decal can have a minimum diameter of 1mm. However, the smaller the decal, the harder to apply.
Maximum size decal can fit this sheet provided 5mm are left between the decal and sheet edges.
Please make sure the colour is set to CMYK (cyan, magenta, yellow, black) not Pantone.
SUBMIT ARTWORK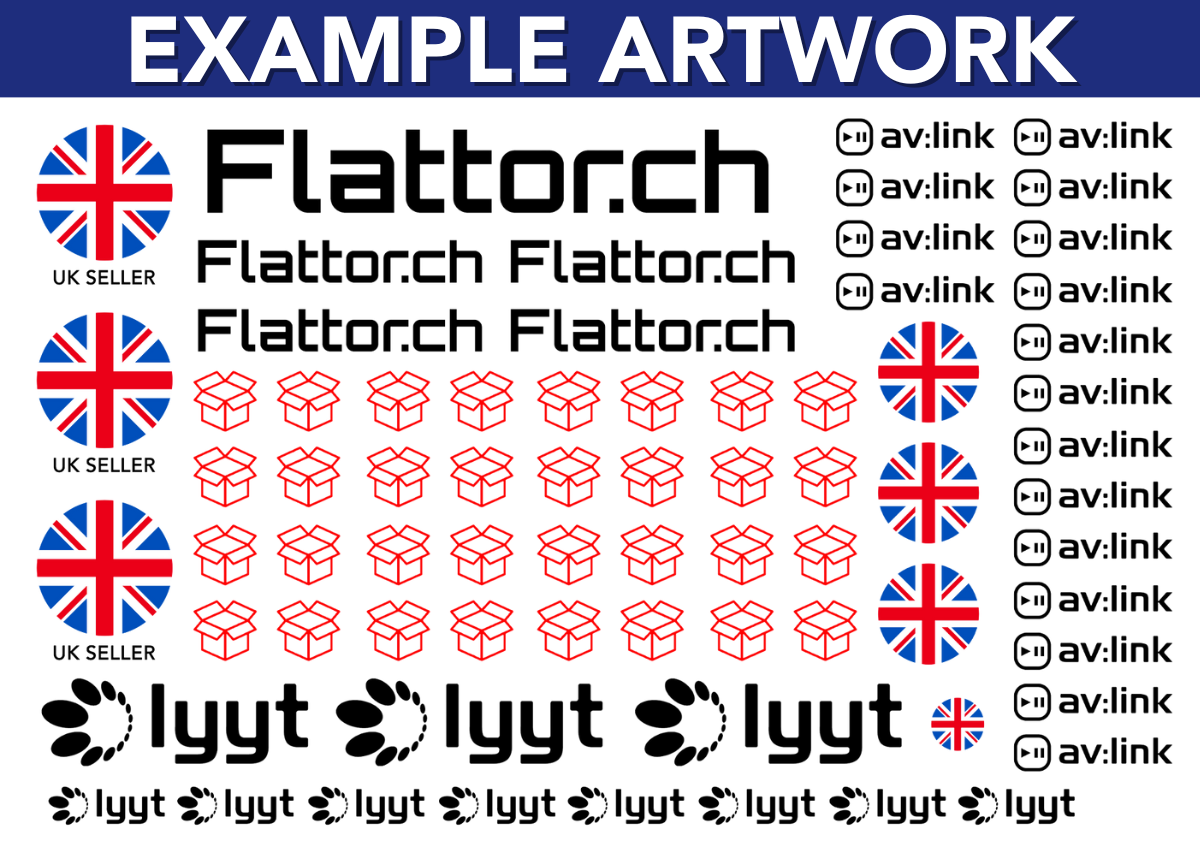
DECAL DAVE APPLICATION ...
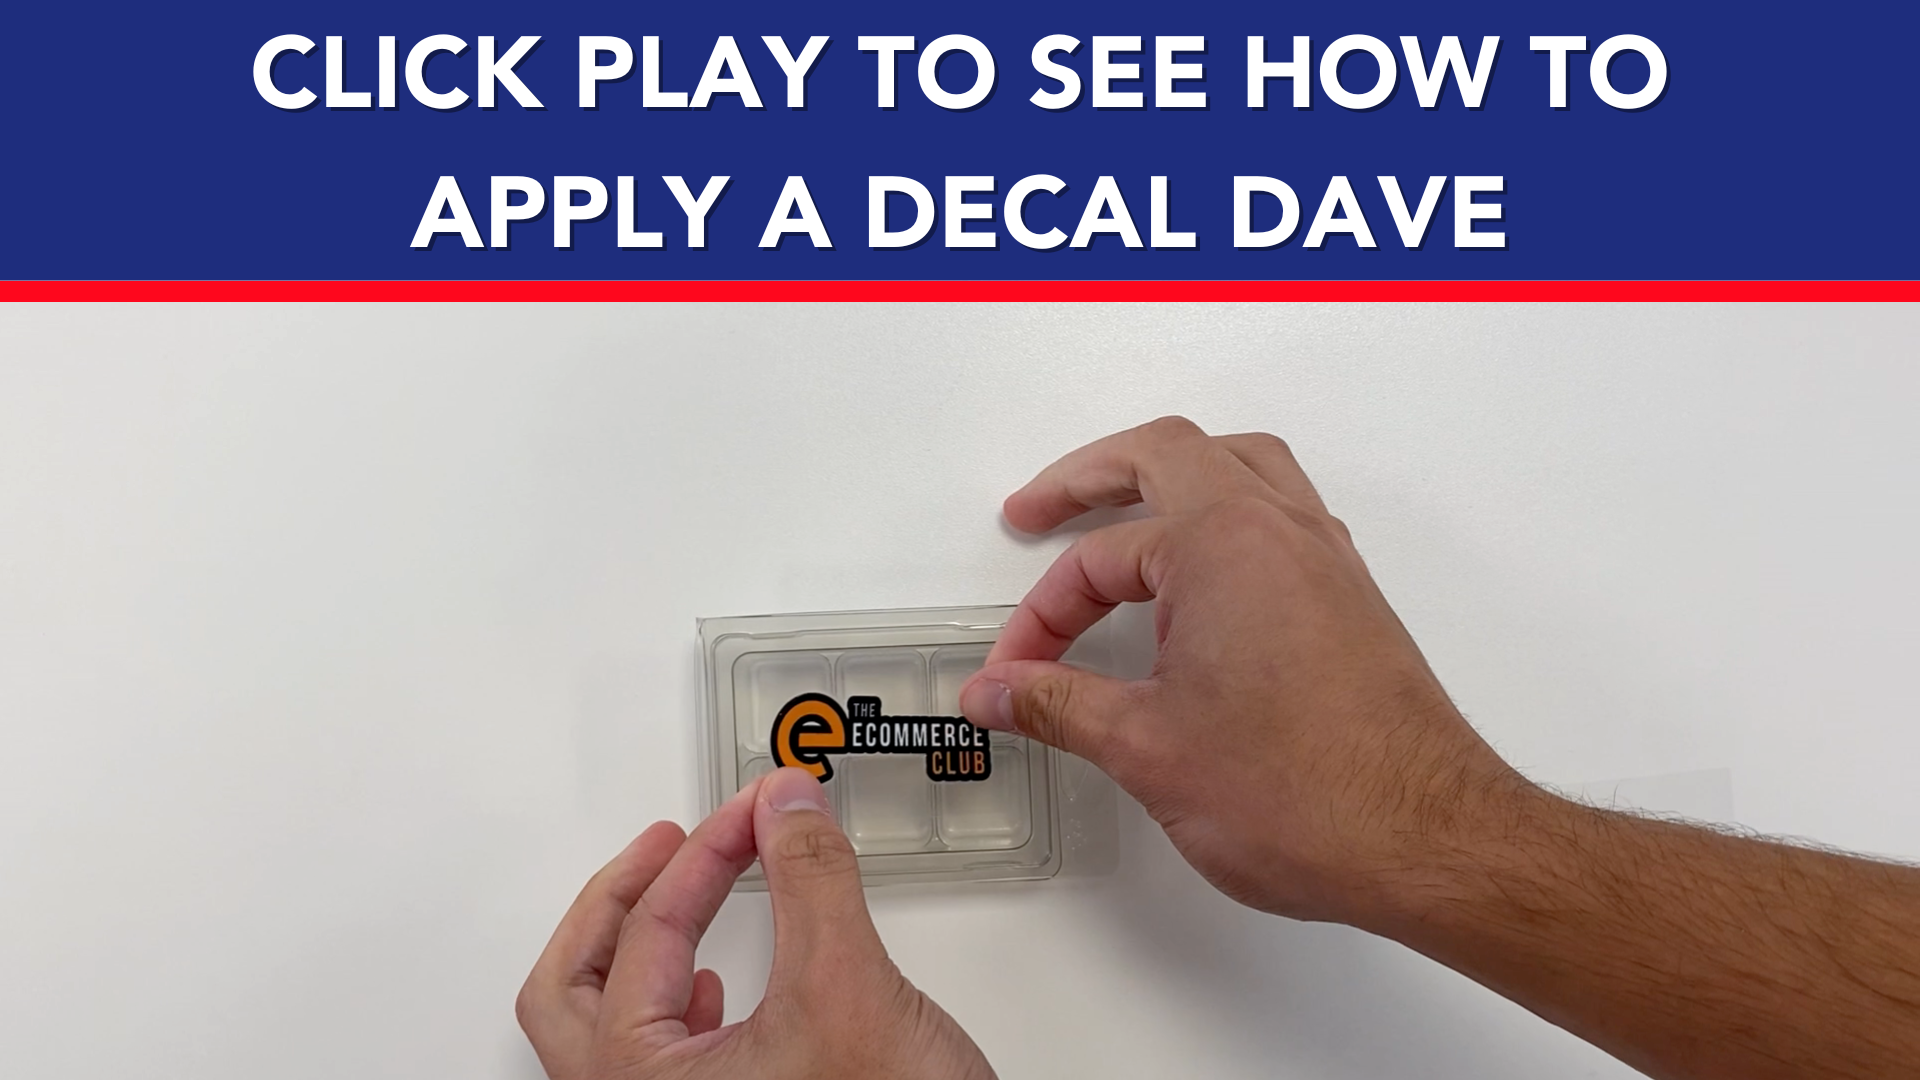
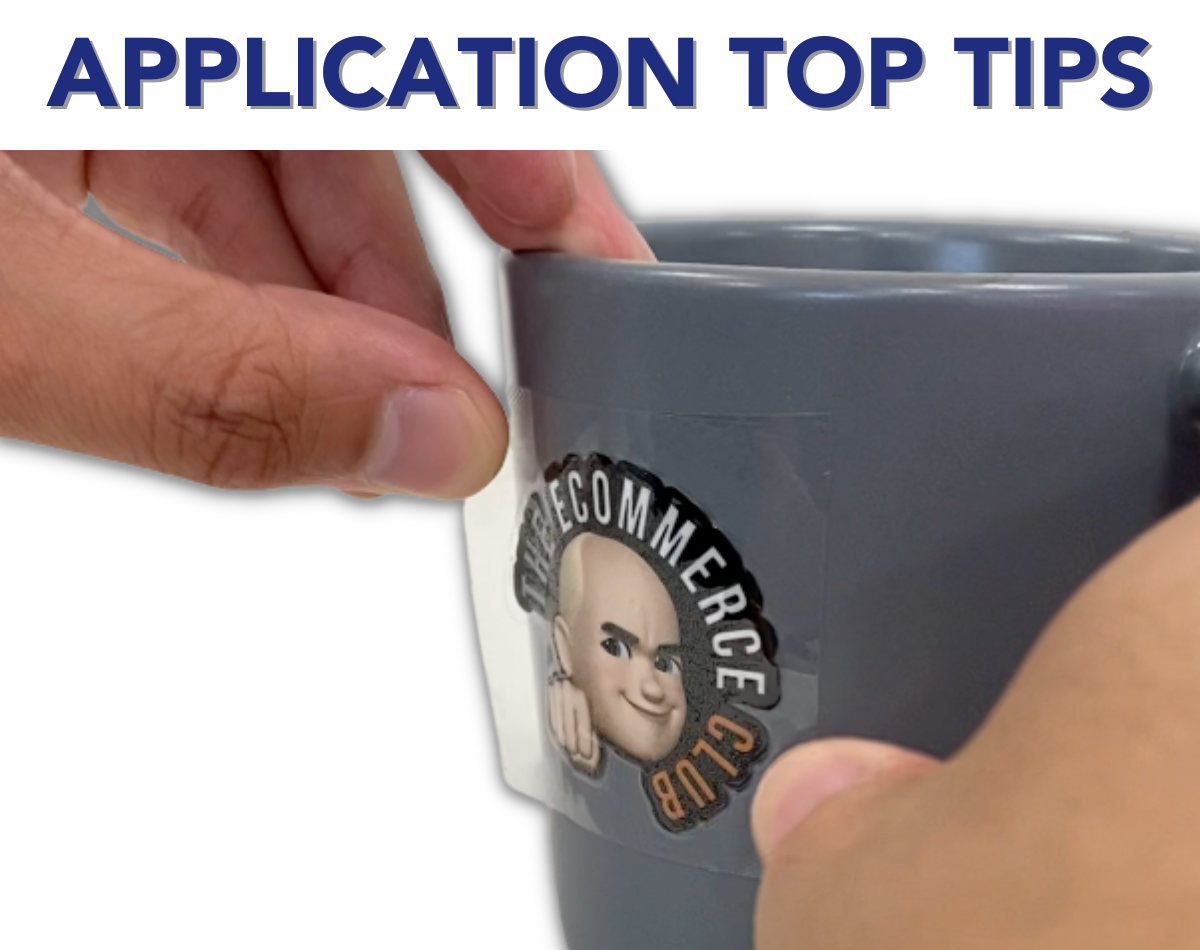
Cut each decal into a square. Peel the decal from corner to corner whilst pressing down on the edges of the decal/lettering to avoid it from peeling onto the wrong surface.
Wipe down the surface you're sticking the decal to in order to remove dust. We recommend using an alcohol wipe.
The decals can be a little bit difficult to apply if there is small lettering which isn't attached to other letters.
If this is the case / if you still find that the decal is peeling onto the wrong surface, allow it to slightly attach to the film again and begin peeling from the other corner as you would have previously loosened the prior corner.
When applying the decal to the product repeat the same process and be conscious of applying pressure to one edge of the decal/letter when peeling away from the other edge/corner.
Struggling to apply individual lettering?
For future orders, attach a white / black background to the lettering to keep everything attached. See the example image attached.

